Camera Settings for Portraits: Which Lens?
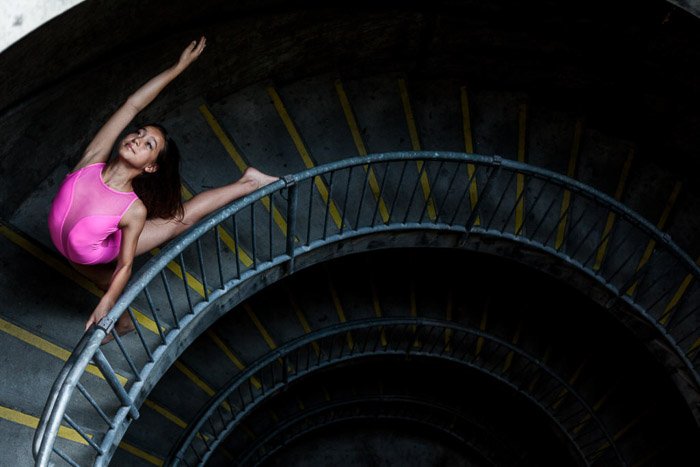
Before we even talk about camera settings for portraits, let’s discuss the lens. Many focus on the camera brand and model. But the piece of gear that has a major effect on the final look of a photo is the lens. It’s hard to know whether you want a telephoto lens, a mid-range prime lens, or a wide angle. To be honest, it often comes down to personal preference and what you have envisioned for the final look. If you want a classic portrait look with a very soft bokeh, use a telephoto. The 70-200mm/f2.8 is a great example of a solid lens for this look. If you’re tight on space or want to have the background play a bigger role in the photo, try a 50mm or 85mm lens. If you’re looking for a more dynamic and off-beat effect, try a wide lens for portraits! You do need to keep in mind subject placement in the frame, though. The lens distortion will be much stronger with a wide angle. It will become more noticeable on the edges of the frame. I also encourage renting lenses before purchasing. A lens can cost just as much as, if not more than, your camera body.
Shooting Mode
You know what I’m going to say here. First, you need to get out of Auto mode! You want to be shooting in full Manual mode. It gives you the most control and consistency. This can be tough at first, though. If you’re not quite ready to take the leap to Manual mode, try switching to Aperture Priority mode. This will give you control over aperture. And it will let the camera choose the shutter speed. The ISO is set to what best fits your shooting conditions. By controlling the aperture, you’re ensuring that you have a nice shallow depth of field. You’re most likely going to be doing outdoor portraits with a good amount of light. The shutter speed won’t be as much of a priority. If you’re in conditions with low light, you’ll want to either be on a tripod or use Shutter Speed Priority. Keep in mind that you’ll need to check your focus to make sure that it’s on your subject. The aperture will be determined automatically by your camera.
Aperture
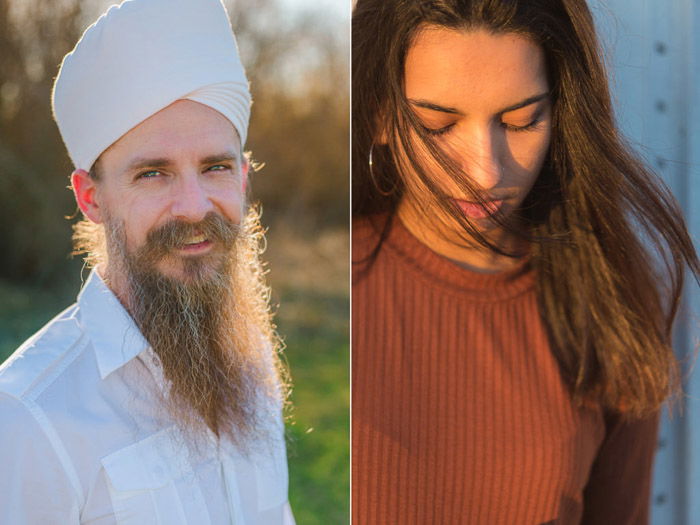
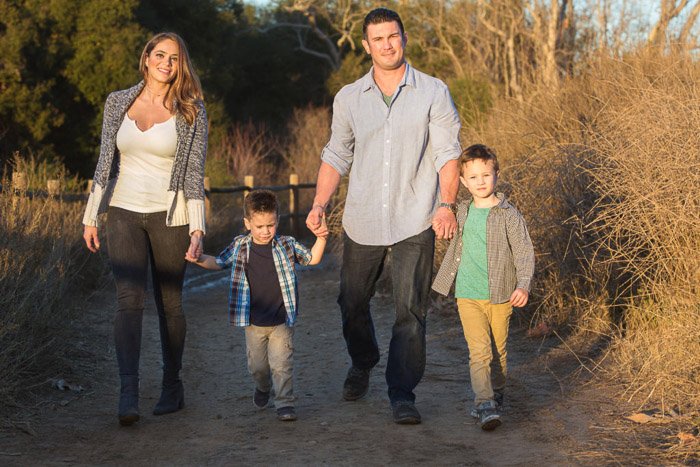
You’ll find that an f-stop of 2.8 or lower is the best aperture for portraits. The reason for this is that it creates a shallow depth of field. Using a shallower depth of field directs the viewer’s eye. It blurs everything except the focal point. In portraits this should always be the eye closest to the camera. By having everything else in the image off-focus, even if subtle, it also creates a flattering look. The skin in the rest of the face is a bit softer. By having the rest of the face a tiny bit softer, it also makes the eyes pop a bit more. This helps create a connection between subject and viewer. If you want both eyes in focus, you can position your subject’s face so that it’s looking straight at the camera. Both eyes are about the same distance from the lens. If you’re doing a couple or group, use a bigger f-stop – somewhere around 5.6 or so. That way, you’ll get each person in focus.
Shutter Speed
If you’re in full sunlight, shutter speed won’t be a big factor. Typically, you want to be using a speed faster than 1/100th to avoid hand shake. If you’re using a flash, you’ll most likely need shoot no faster than 1/200th of a second so that the flash unit syncs in the correct way. Of course, if you’re not using a flash then you can use faster shutter speeds and be fine! If you want to capture some motion, the ideal speed will depend on how fast the action being photographed is. To capture some motion blur, you’ll want to shoot as slow as you can to avoid hand shake. This can be as low as 1/50th of a second for those with a steadier hand. A bit of experimentation will help find your ideal speed.
Metering Mode
Spot metering is usually the best for portraits. It gives you control over exactly what area is exposed properly. Spot metering will read the light in the center spot of the frame, and use that to evaluate your exposure. If you’re not using a flash, then this point will most likely be your subject’s face. If you are using a flash, then you’ll want to expose for the background. Then the flash will illuminate your subject’s face.
ISO
Higher ISO is more light-sensitive and lower ISO is less so. Higher ISOs always increase the appearance of grain, so keep that in mind. To avoid grain, you always want to use as low of an ISO as possible. I like to stay at either 100 or 200, but you can push the ISO higher if the light is low. Different cameras will handle grain differently. An ISO of 800 in one camera may look clear, while another camera may be very grainy at ISO 800. You’ll want to test out your camera in different light conditions. Try different ISOs before you’re at a shoot with a client.
Conclusion
Portrait photography can be incredibly varied and experimental. There are many options for gear and camera settings for portraits. These can be overwhelming! Playfulness and experimentation are key in finding your groove. But the basic settings and guidelines above will get your portrait photos started off on the right foot.
