I will guide you through a step-by-step process to make a digital collage. I have spent many hours—and even days—on a single Photoshop project throughout my photography career. And I will share some simple ways to combine different visual materials. By the end of this article you’ll have some fresh ideas for your digital collage, too!
What is Digital Collage?
Digital collage is pictures made up of multiple images with editing software. It is a graphic design technique that transforms photos. We use cuts, additions, and placements to create a new context. Digital collage takes the same cut-and-stick approach as traditional collage. But we apply it in a digital environment. We still cut and stick. But we do these actions in Adobe Photoshop. We can trace around our chosen subject and delete the rest. And we can use other creative Photoshop techniques in different parts of our collage. We can create a background and then add layers of details. Luckily, Photoshop allows us to move layers around. We can reposition elements without tearing them down.
How Are Digital Collages Used?
You often see digital collages created for advertisements. Designers put images together on bright colored backgrounds to grab people’s attention. Creating birthday or Christmas cards is a fun, practical use for digital collages. Or, if you master digital collage art, you can create custom designs. Check fabric sizes for pillows, blankets, and clothing. Then open a Photoshop document with the exact dimensions. Digital collages are also often used in the art world as well. It is an art form perfected by many artists.
How to Make Digital Collage Art
There are two different types of collages. One involves different layers on top of different layers. The other is a well-curated page of pictures in different frames or grid formats. I will guide you through the first example in this Adobe Photoshop tutorial. We will create this artistic, abstract collage.
Step 1: Select Photos for the Digital Collage
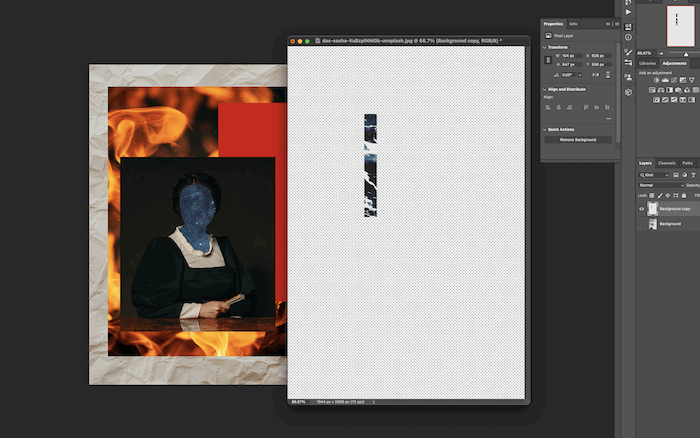
First, we source some photos for our digital collage. I used the free stock image site Unsplash for all my material. What’s the best aspect of digital collage compared to paper collage? You have the whole internet to find your virtual images and photographs! I started by looking for a subject to make the main focus of my image. I chose a picture of a woman. Then I selected crinkled paper for my background for some texture. And I looked for multiple images to provide other interesting details and textures:
a starry sky fire foamy ocean water
Step 2: Cut Out a Section of the Main Subject
We will start by cutting out part of the subject so we can reveal an image beneath it, I opened the image of the woman as a separate document in Adobe Photoshop.
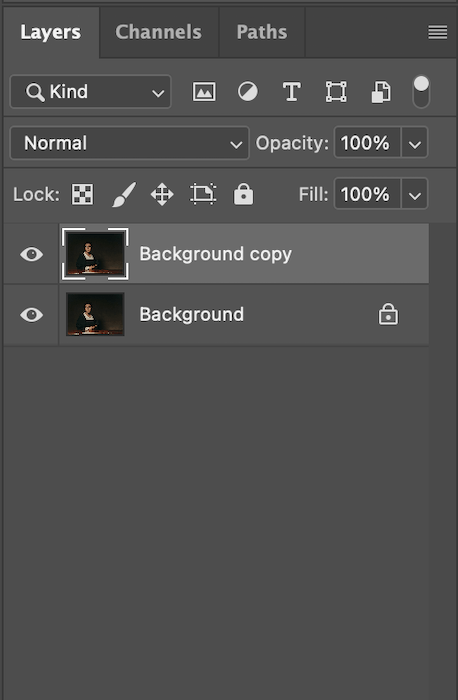
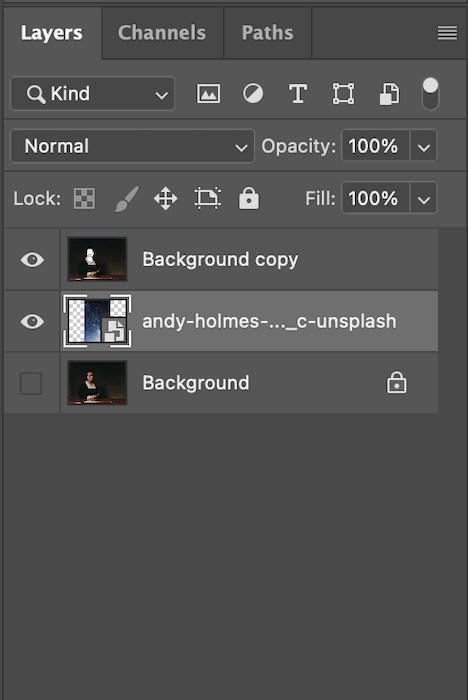
Then I duplicated the background layer. A copy will appear above your background in the Layers panel.
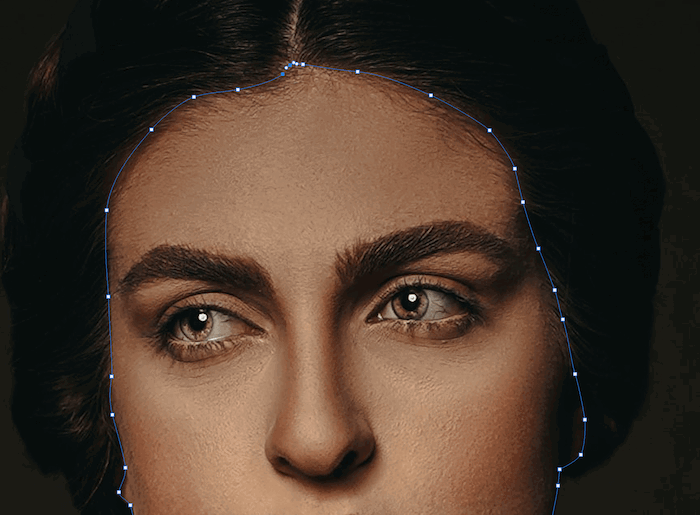
Grab the Pen tool from the left-hand toolbar. Make sure you set the Pen tool to ‘Path’ in the top drop-down menu. Then, slowly go around the section you want to remove with the Pen tool. I traced around the woman’s face to leave the hair and clothes of the subject. When you have done this, be sure to close the path.
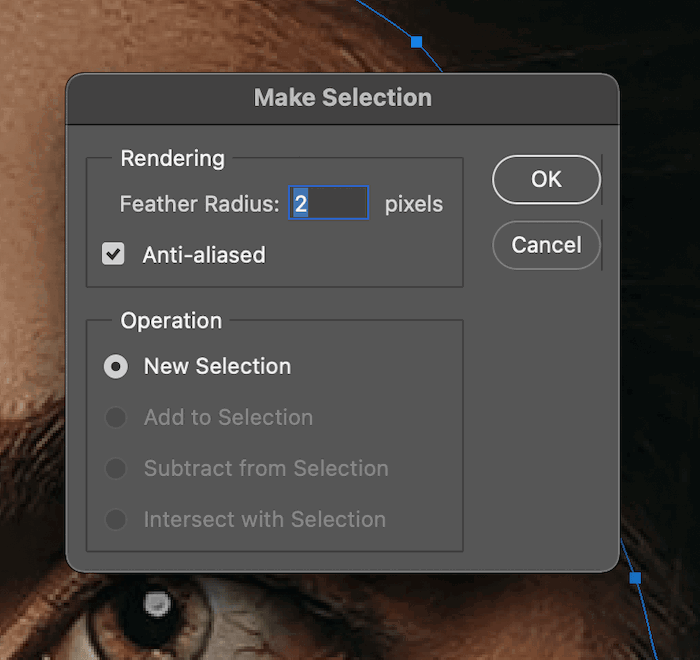
Now, make your path a ‘Selection’ in the Pen tool’s menu at the top of your screen. This brings up a dialogue box. You can tailor the settings to your preference. The feather radius is most important. It gradually blends the line of your path.
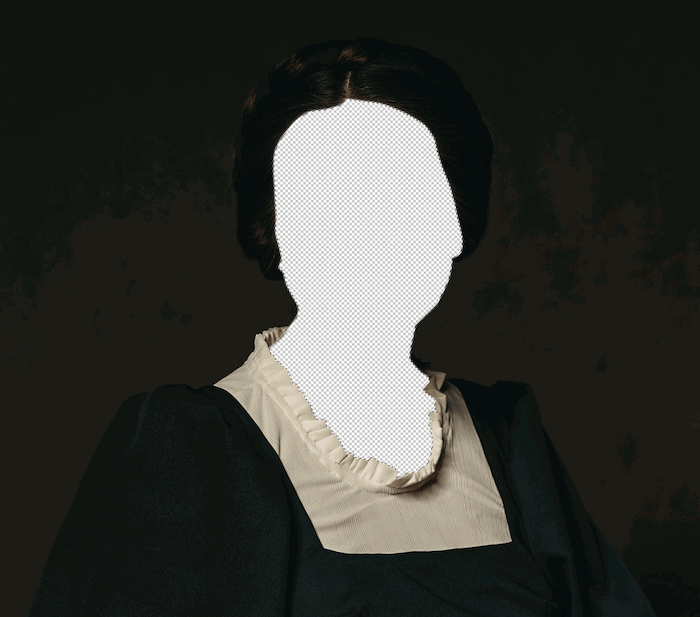
After pressing enter, ‘marching ants appear around your selection. With your top layer selected, press the backspace button on your keyboard. This will get rid of the area inside your selection. If you hide the bottom background layer, your image should look like the ‘after shot’,
Step 2: Add a Detailed Layer Underneath Your Subject
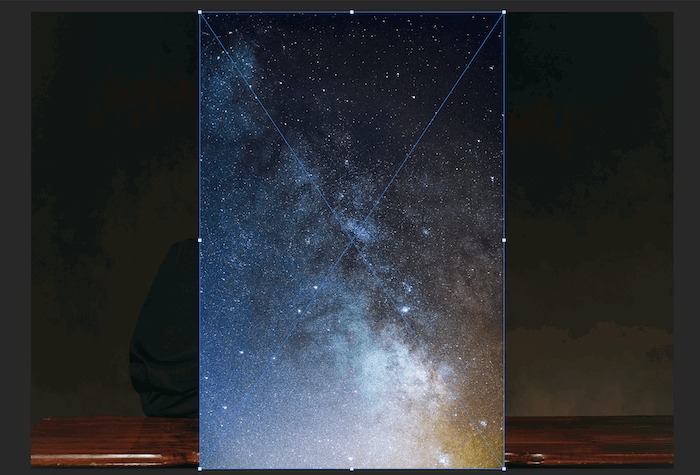
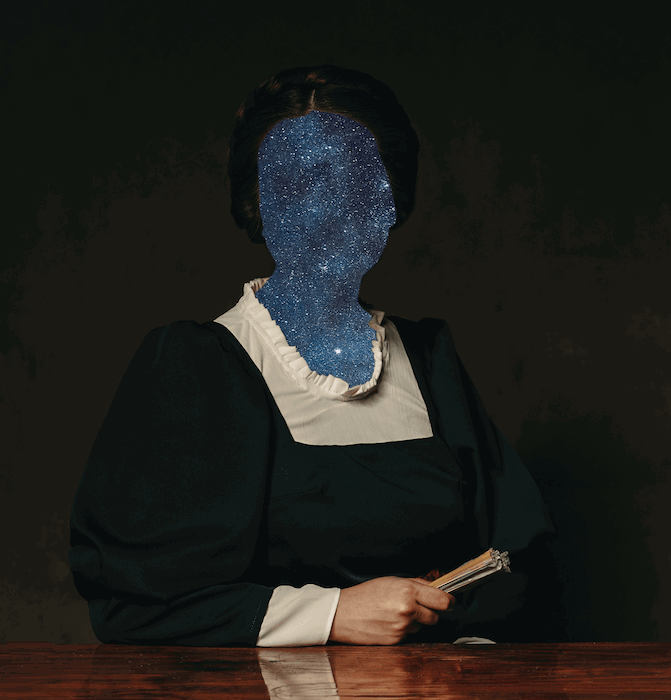
Now, let’s add one of the detailed images we selected to reveal in the cut-out space. In my case, I used a starry sky image. Open the image onto your subject.
Then drag the new layer underneath your top layer in the Layers panel.
This will make the stars appear where the woman’s face once was. You have the freedom to move your image around behind the subject for the best look.
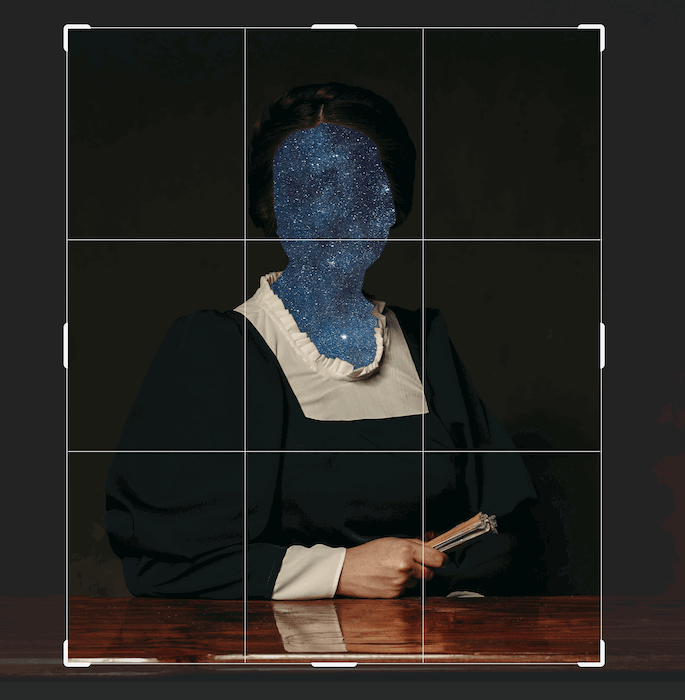
After finding the best position, you can cut out the image and drop it onto your background. Grab the Crop tool and make and reframe the subject. And to finish it off, go to Layer > Flatten Image.
Step 3: Use Collage Elements to Create Different Layers
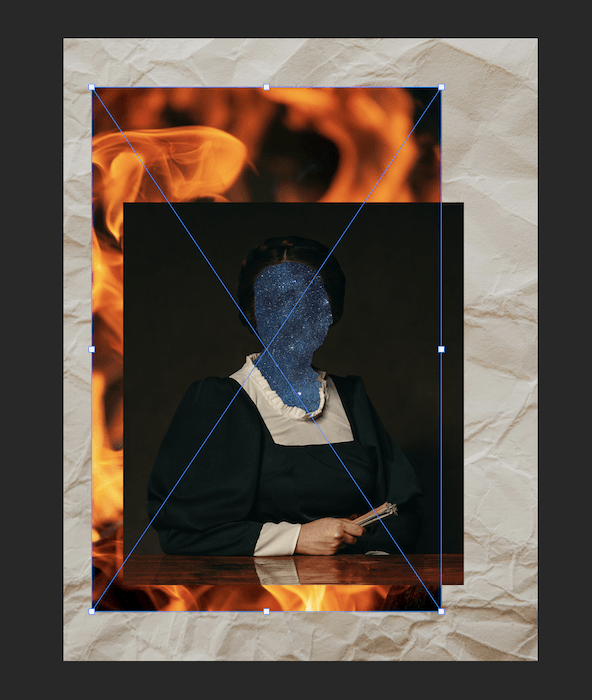
Background Layer
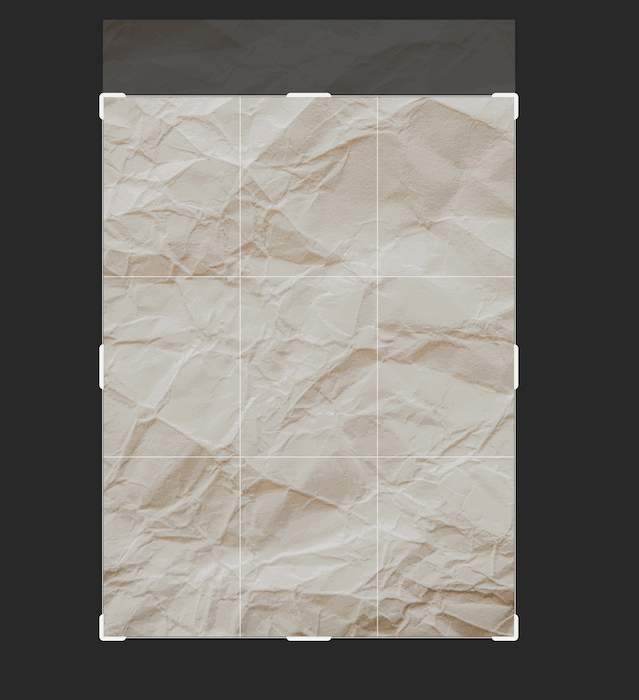
First, let’s get our background image up. I cropped my page to a ratio size that I liked.
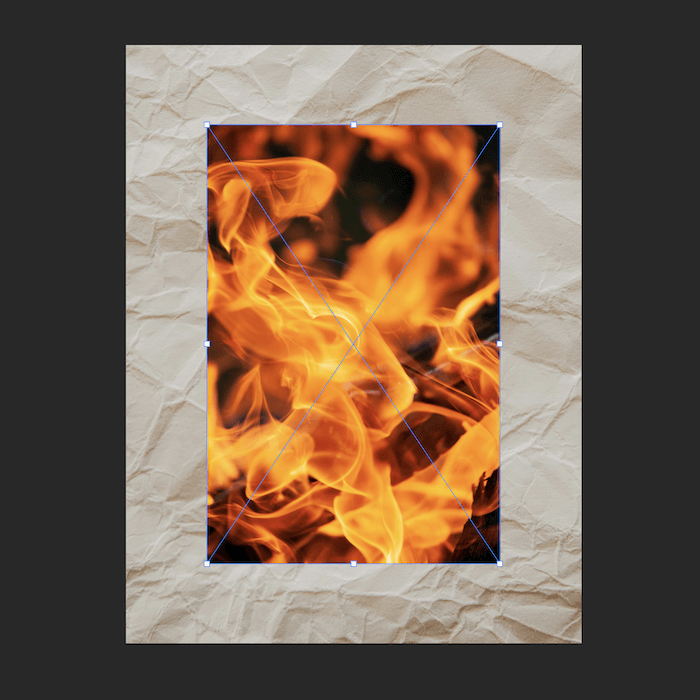
Fire Layer
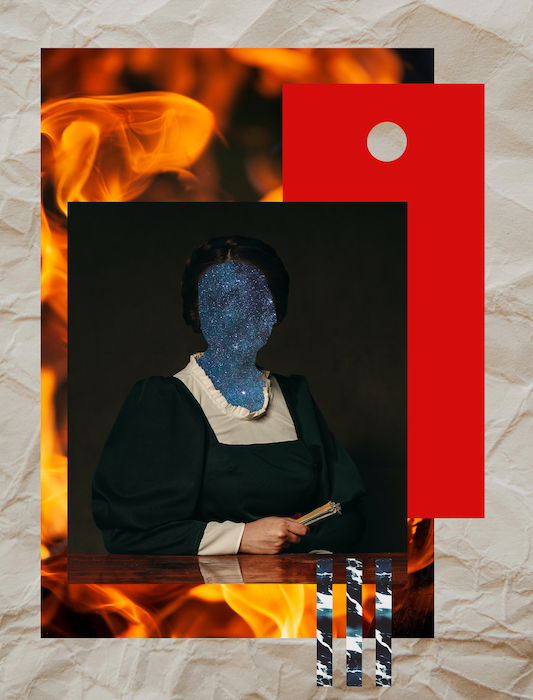
I added another detailed element to my image that my subject could sit on—the fire image. If additions don’t work, we can always take them out. That is the best part about creating a digital collage.
Subject Layer
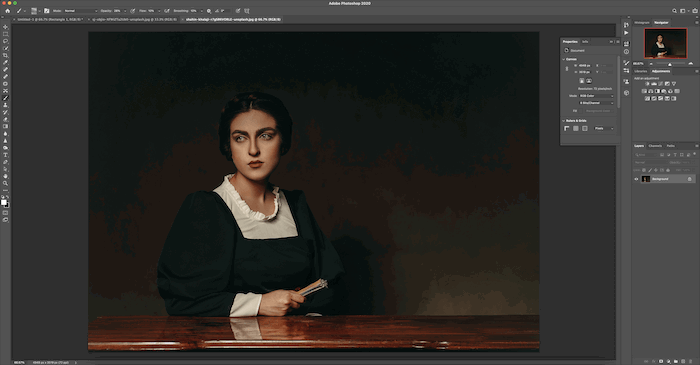
Now, go back to your subject. Grab the single layer from this edit and drop it onto your background.
This is how your image should look. With the Transformation tool (Command/Ctrl+T), you can move around your elements.
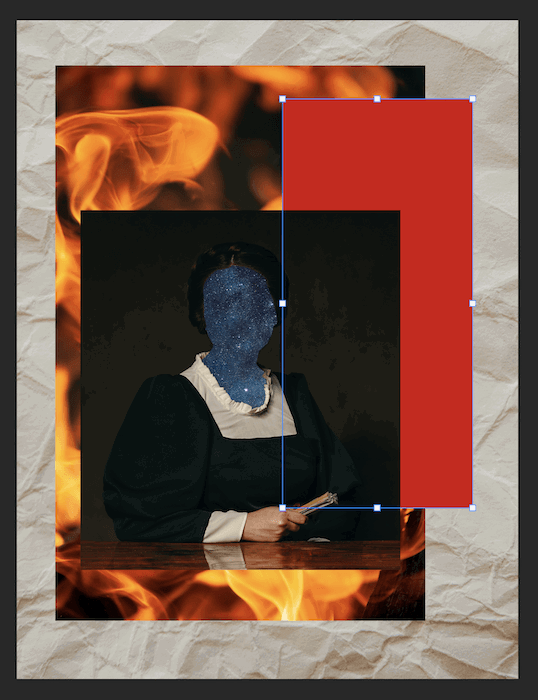
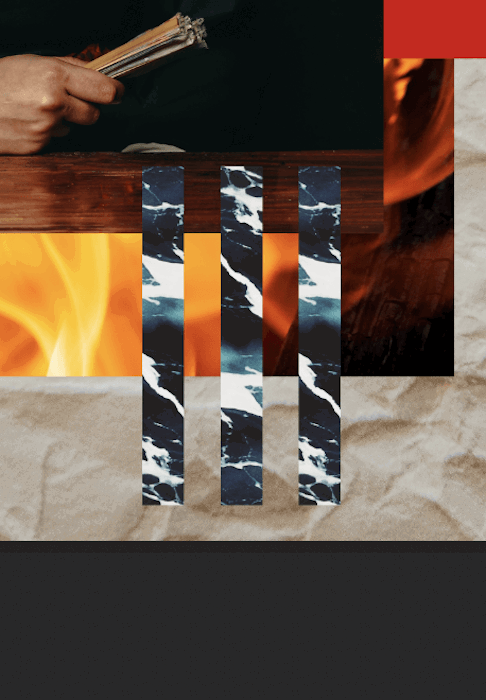
Rectangle Layer
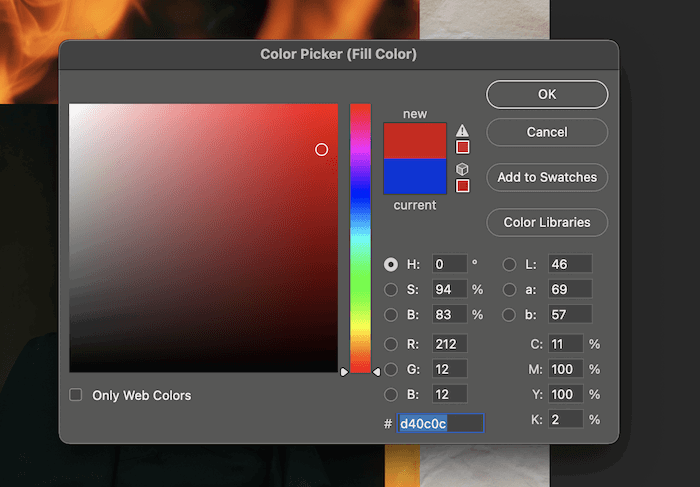
I added a block of color to show how you can add shapes in Photoshop. First, select the Rectangle tool from the left-hand toolbar. Choose ‘Shape’ in the drop-down menu and select the Color Picker. Here, you can choose any color you like to put in your digital collage.
Then drag out your Rectangle tool to place the red shape on your image. Remember, you can adjust where the layer sits on your image in the Layers panel. I placed the red rectangle above the fire layer but below the subject layer. After picking the place it sits, you can always adjust its size and shape with Command/Ctrl+T.
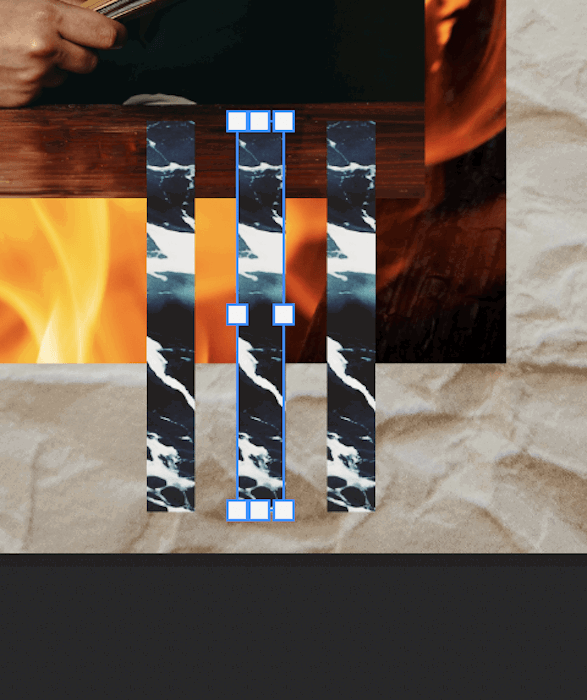
Step 4: Cut and Stick More Collage Elements
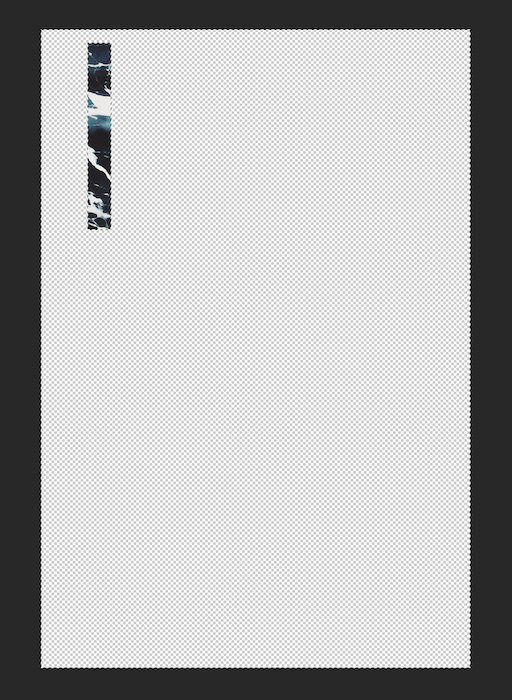
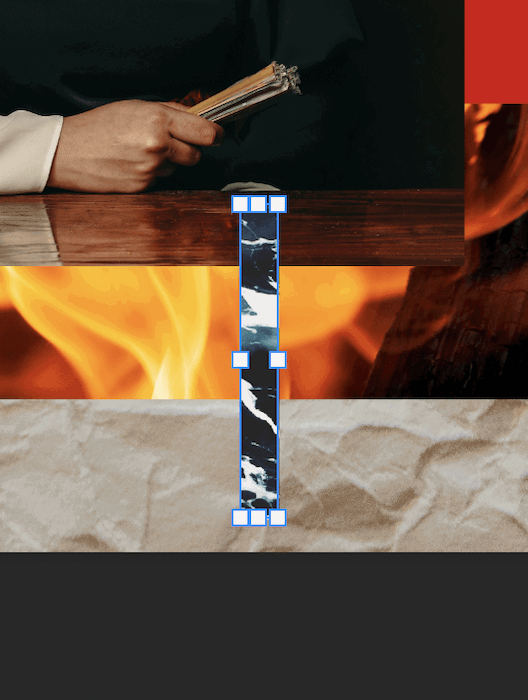
Let’s look at another way to use the cut-and-stick method. I wanted to add slivers of the foamy ocean for texture. Start by duplicating the background layer. Then grab the Rectangle Marquee tool from the top of the toolbar and choose your selected sliver.
Next, inverse this selection using Command/Ctrl+Shift+I and delete the selection by pressing the backspace.
Now, take this new layer and drop it onto your digital collage.
This is what it will look like on your image. Adjust the size using Command/Ctrl+T.
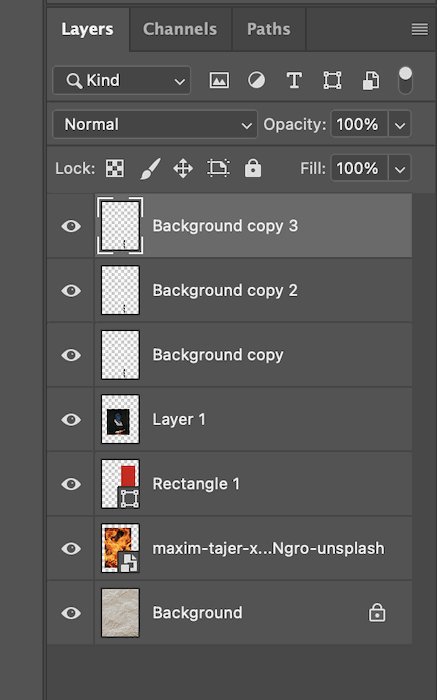
Another way to manipulate elements in a digital collage is to duplicate your material. Here, I dragged the sliver layer over the ‘Create new layer’ icon on the bottom of the Layers panel to create copies.
After spacing each layer out, my new section looked like this. And I turned the central element around to make this section a bit more interesting. Press Command/Ctrl+T. Then turn the section 180°.
Step 4: Erase and Reveal Layers
Another creative use of Photoshop tools is using the Eraser tool. We can make it look as if we have cut through layers. First, grab the Eraser tool from the left toolbar. Next, select the first layer you want to cut through. I chose the red rectangle layer. I changed the radius of the Eraser tool and ‘cut out’ a circle of my choice.
I then selected the fire layer underneath and clicked on the exact location. This simple cut revealed the paper layer and gave the image a whole new dimension.
Conclusion
Digital collage can be as straightforward or as complex as you like. Use these techniques and others to create your visual graphic! We can incorporate the cut-and-stick approach in many different ways. Bringing all the elements together in a balanced way can make for an exciting image. A digital collage is like any other artwork. It takes time to get good at it. So start collecting some visual material and try it out for yourself! Try out our Fantastic Photo Adventures course to tell whimsical stories with unique photos!