How to use Focal Lock
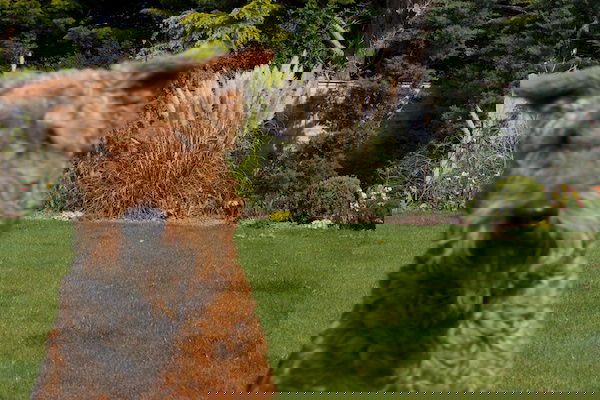
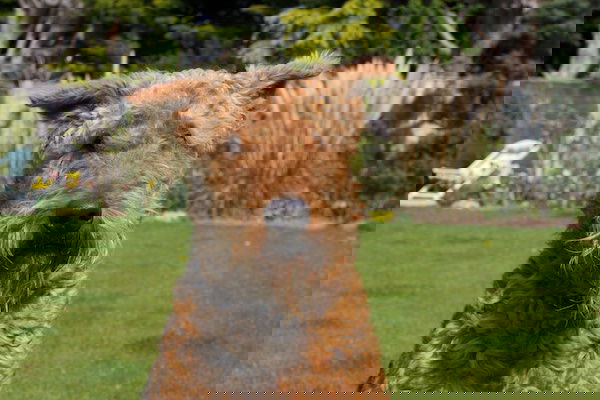
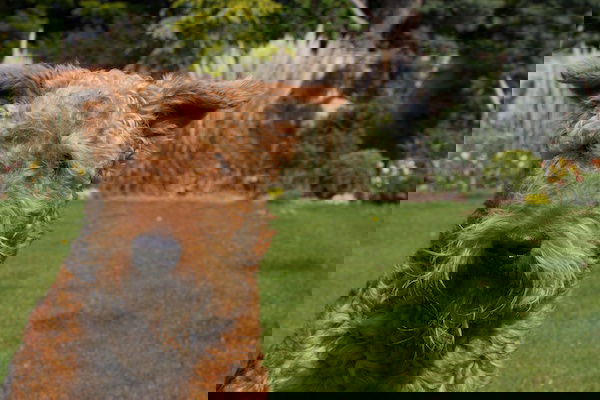
Using Focal lock is very easy to do and is useful for beginners as it can help create sharper images. A lot of people use it to avoid the hassle of selective focal points in the camera’s viewfinder for fear of forgetting to change it back, or the difficulty of doing it quickly. Without focal lock you’ll often find that, when you compose a photo with the subject at the side of the image, the autofocus struggles to decide what to focus on. This tends to result in focus on the background or between two subjects. To use Focal lock, follow these 3 easy steps: 1 – Compose your shot. The rule of thirds dictates that subjects often look better off-center. Unfortunately, the autofocus doesn’t know this and often picks the background to focus on. 2 – Move your camera over to the subject so that they’re easily selectable by the autofocus. Depress the shutter release button half way – this allows it to focus. You’ll often see focal points light up red in the camera’s viewfinder and hear a “beep” when this is done. 3 – Being careful not to release the shutter, move the camera back to how it was previously composed and press the button down fully. You’ll see that the camera does not refocus and the exposure comes out as desired. As you can see, this is very easy to do: so there’s no reason for out-of-focus photos anymore! One thing to be careful of is how much you move the camera after you’ve locked the focus. If you have a wide aperture, you’ll have a shallow depth of field, so even slight movement will send your photo out of focus.